> For the complete documentation index, see [llms.txt](https://docs.deltastream.io/llms.txt). Markdown versions of documentation pages are available by appending `.md` to page URLs; this page is available as [Markdown](https://docs.deltastream.io/integrations/setting-up-data-store-integrations/setting-up-and-integrating-snowflake-with-your-organization.md).
# Snowflake
[Snowflake](https://www.snowflake.com/) is a fully-managed cloud-based data platform for storing and processing data. Snowflake uses its own SQL query engine to provide its customers all of the functionality of an enterprise analytic database, along with many additional special features and unique capabilities..
This document walks through setting up Snowflake to be used as a data [Data Store](/overview/core-concepts/store.md) in DeltaStream.
## Setting up Snowflake Account
### Prerequisites
1. [Sign up for a Snowflake account using AWS](https://signup.snowflake.com/).
2. Unix-like environment (Linux, Mac OS X).
3. [Download SnowSQL](https://docs.snowflake.com/en/user-guide/snowsql-install-config)
### Add Snowflake Warehouse
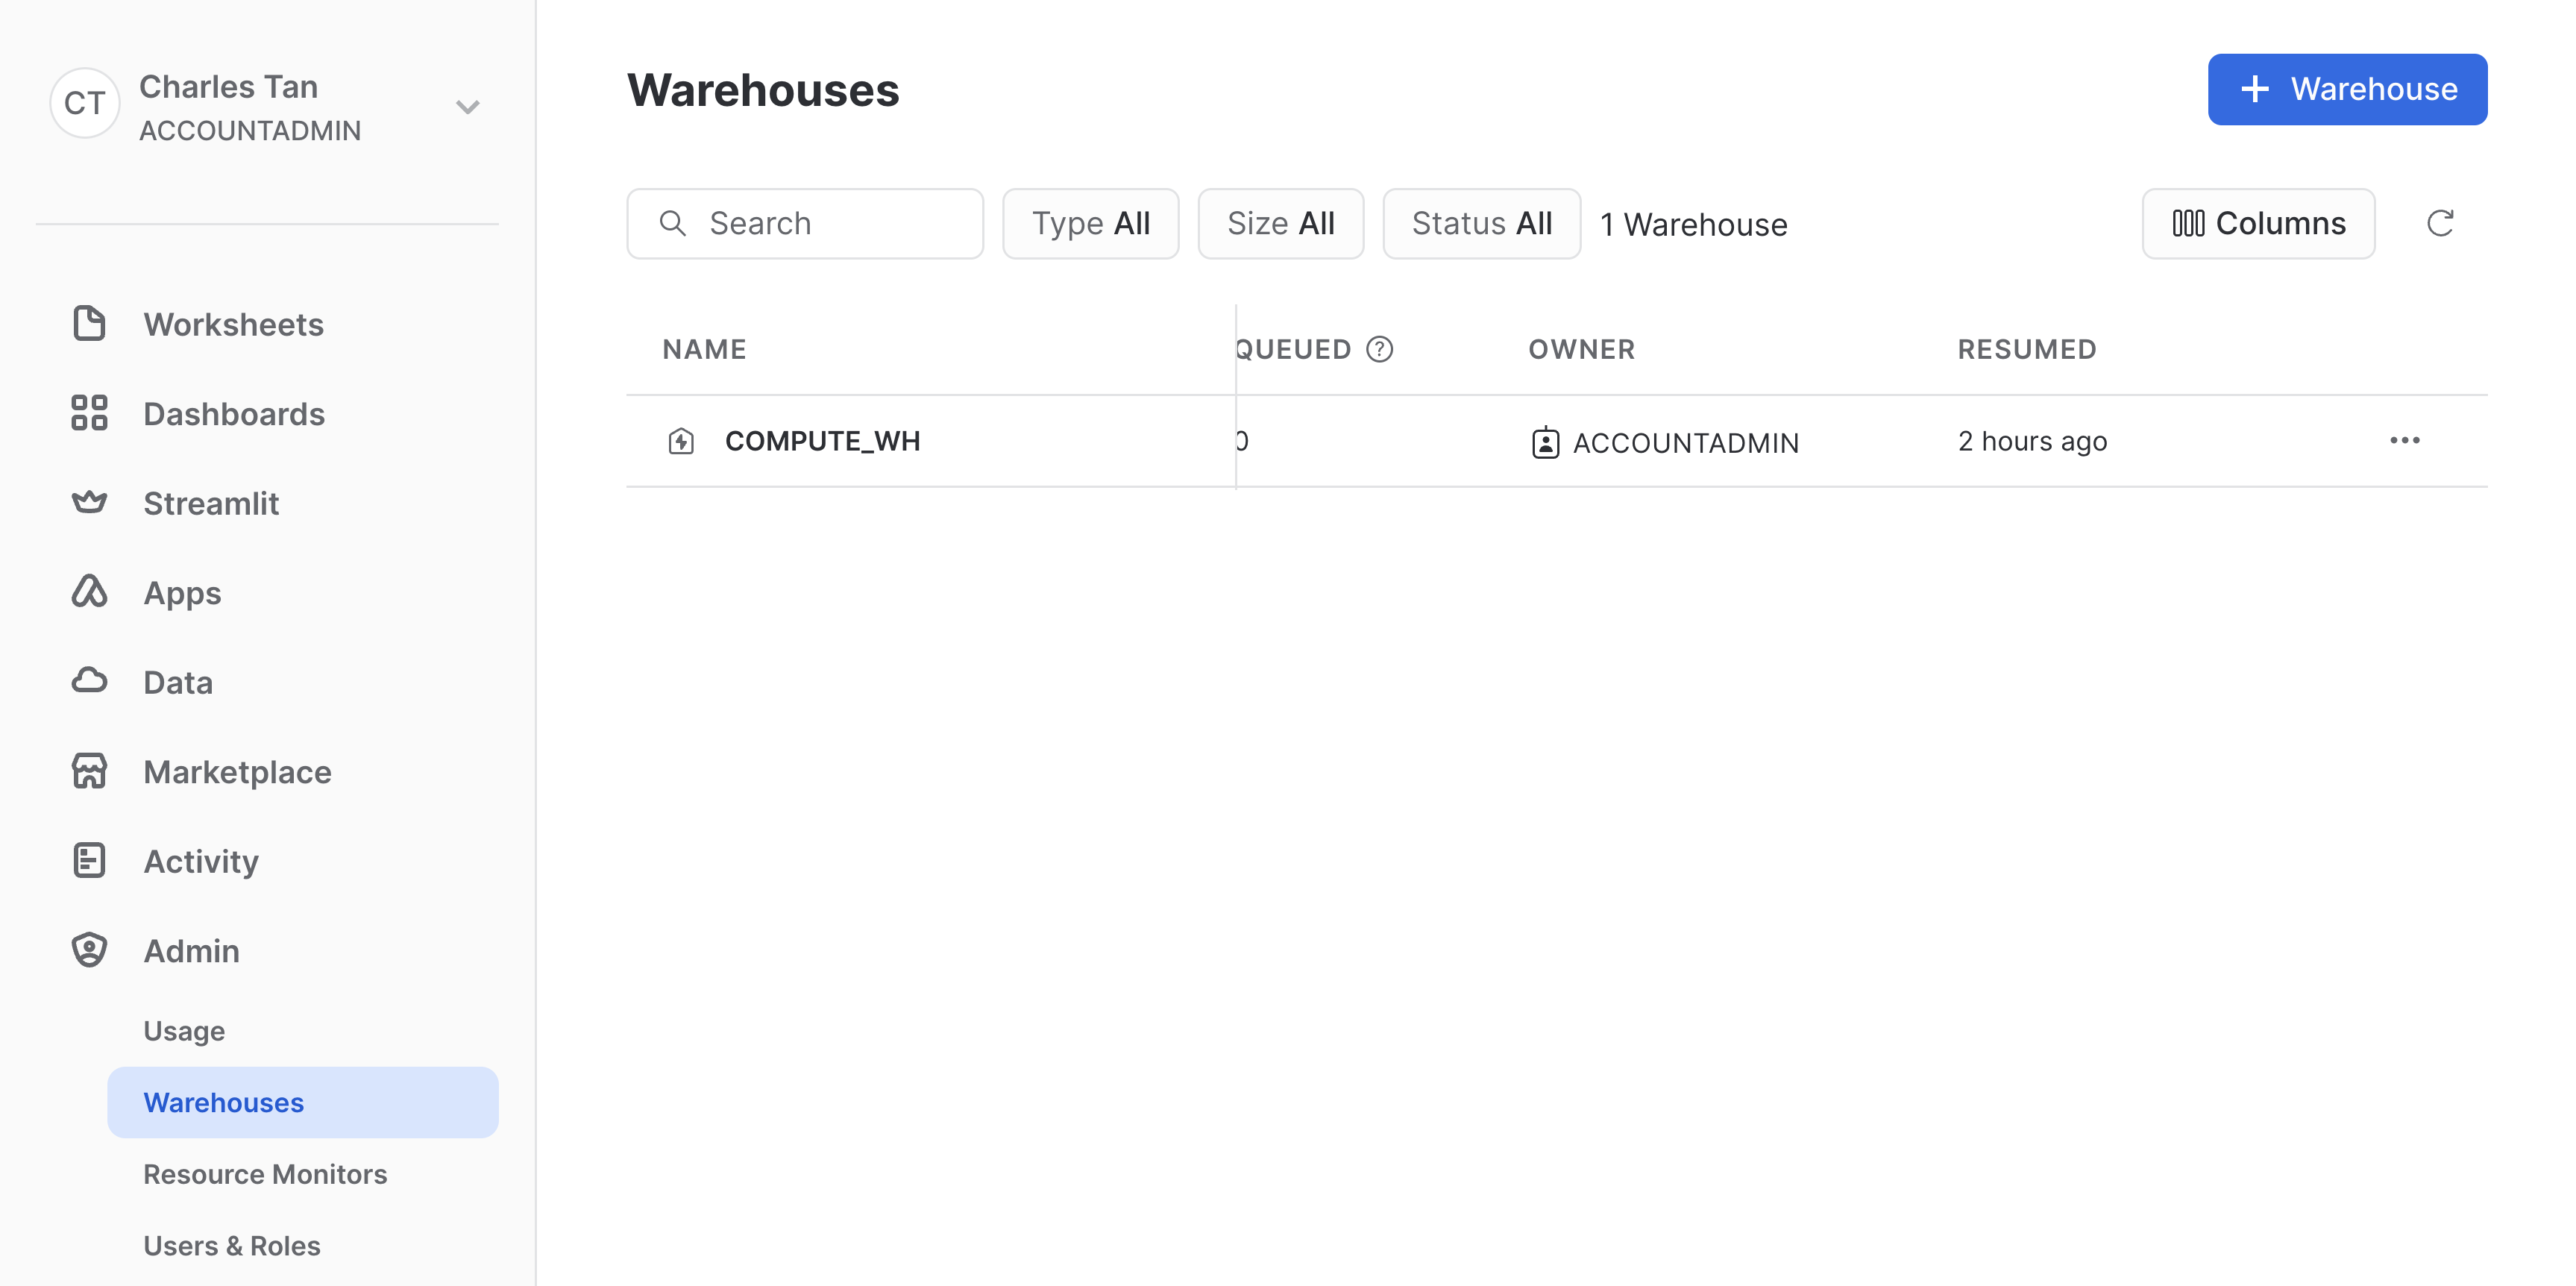
1. In Snowflake, in the lefthand panel under `Admin`, select `Warehouses` to view a list of existing warehouses in your Snowflake account. Snowflake creates a starter warehouse for you called `COMPUTE_WH`.
Listing Snowflake Warehouses
2. To create a new warehouse, in the top right of the screen click **+ Warehouse**. To edit an existing warehouse, to the right of the warehouse you want click the 3 horizontal dots. Then click **Edit**.
3. Configure your warehouse with your preferred specifications. To learn more about configuring your warehouse, review the [Snowflake warehouse documentation](https://docs.snowflake.com/en/user-guide/warehouses-overview).
### Create Snowflake Key Pair Authentication
1. In a terminal window, generate a new private key:
1. Without encryption:
```
$ openssl genrsa 2048 | openssl pkcs8 -topk8 -inform PEM -out rsa_key.p8 -nocrypt
```
\
A new file called `rsa_key.p8` should be generated which contains the private key in PEM format.
2. With encryption:
```
$ openssl genrsa 2048 | openssl pkcs8 -topk8 -traditional -inform PEM -out rsa_key.p8
```
\
When prompted, enter a password for this new private key. It's important to remember this password, as subsequent steps require it.
\
A new file called `rsa_key.p8` is generated that contains the encrypted private key in PEM format.
2. Generate a public key
```
$ openssl rsa -in rsa_key.p8 -pubout -out rsa_key.pub
```
\
A new file called `rsa_key.pub` is generated that contains the public key in PEM format.
3. Ensure these new private and public keys are stored securely. If these files are kept on local disk, then consider restricting read and write access to these files or securing them behind a password.
4. Assign the public key to a Snowflake user. To do this:
1. Start the snowsql REPL in your terminal. Here's an example of starting snowsql for account `ABCDEF-ABC12345` with the user `jsmith` and warehouse `COMPUTE_WH`. For more information about using snowsql, see [Snowflake's documentation](https://docs.snowflake.com/en/user-guide/snowsql-use).
```
$ snowSQL -a ABCDEF-ABC12345 -u jsmith -w COMPUTE_WH
```
2. Alter a user to set the `RSA_PUBLIC_KEY` property.\
\
If your public key looks like this...
```
$ cat rsa_key.pub
-----BEGIN PUBLIC KEY-----
MIIBIjANBgkqhkiG9w0BAQEFAAOCAQ8AMIIBCgKCAQEAwViztpm3l7IfLN/prlBb
KJi/yTMngmTBKFp5YOyWqswlXwVlH6zehbCgFYxjo36RxxDtwqTSzaEalraalvjE
aRKKb+esi8TYvbd1eiJGJqoq5WjTIHs0lwRMwLkCn6mHX9I4J0Wp6mR2DhjWvey6
IE4aKT0kXrKChs/GCOGFi3lAIRIXy9FQusYW2OyNoG1iogFLoWPH1Od5bmVl6TJv
xXXKeUj0omTq+3CKZxELxgr5nYU44MQgq/NH1X+nEjIiA0W2RiS6heKNgwRUg2EQ
8UXbrHCjhgnONRnnHGukh9CpH4KTTmQc2hifTbH7g39f31hrEWBfVTECESUAY+qz
kwIDAQAB
-----END PUBLIC KEY-----
```
\
...then the command to set the `RSA_PUBLIC_KEY` for user `jsmith` is the following:
```
ALTER USER jsmith SET RSA_PUBLIC_KEY='MIIBIjANBgkqhkiG9w0BAQEFAAOCAQ8AMIIBCgKCAQEAwViztpm3l7IfLN/prlBb
KJi/yTMngmTBKFp5YOyWqswlXwVlH6zehbCgFYxjo36RxxDtwqTSzaEalraalvjE
aRKKb+esi8TYvbd1eiJGJqoq5WjTIHs0lwRMwLkCn6mHX9I4J0Wp6mR2DhjWvey6
IE4aKT0kXrKChs/GCOGFi3lAIRIXy9FQusYW2OyNoG1iogFLoWPH1Od5bmVl6TJv
xXXKeUj0omTq+3CKZxELxgr5nYU44MQgq/NH1X+nEjIiA0W2RiS6heKNgwRUg2EQ
8UXbrHCjhgnONRnnHGukh9CpH4KTTmQc2hifTbH7g39f31hrEWBfVTECESUAY+qz
kwIDAQAB';
```
**Note** Only security administrators (users with the `SECURITYADMIN` role) or higher can alter a user.
For more information on setting up key pair authentication, see [*Snowflake documentation*](https://docs.snowflake.com/en/user-guide/key-pair-auth)*.*
## Adding Snowflake as a DeltaStream Data Store
1. Open DeltaStream. In the lefthand navigation, click **Resources (**  ) and then click **+ Add Data Store**.
DeltaStream Data Store List
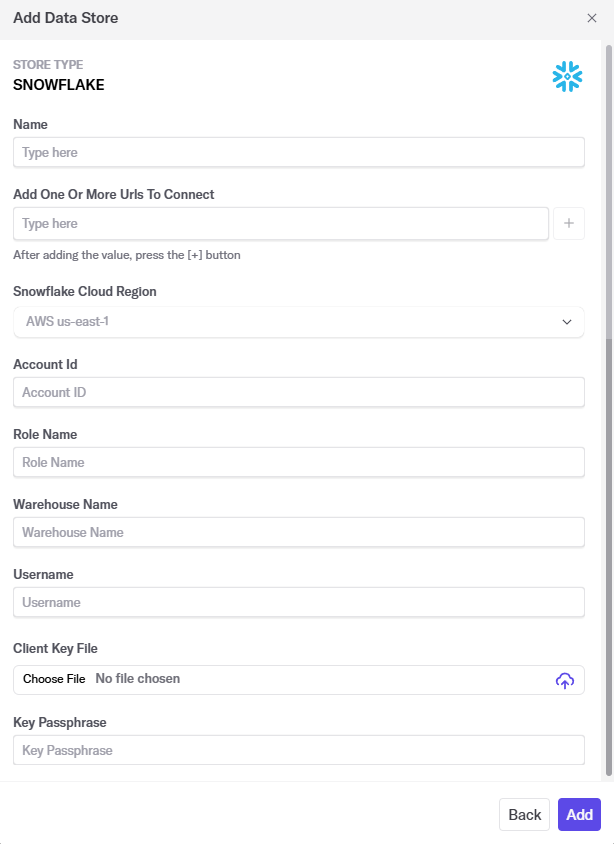
2. From the menu that displays, click **Snowflake.** The **Add Data Store** window opens.
Adding a Snowflake Data Store
3. Enter the authentication and connection parameters. These include:
* **Store Type** – `Snowflake.`
* **Name** – A name to identify your Snowflake data store (See [Data Store](/overview/core-concepts/store.md)).
* **Uris to connect** – URI for Snowflake account in the format `https://.snowflakecomputing.com` (see [Snowflake Account Identifiers documentation](https://docs.snowflake.com/en/user-guide/admin-account-identifier#format-1-preferred-account-name-in-your-organization)).
* **Snowflake Cloud Region** – Location of your Snowflake data store (See [Region](/overview/core-concepts/region.md))
* **Account ID** – Account identifier in the form `-` (see [Snowflake Account Identifiers documentation](https://docs.snowflake.com/en/user-guide/admin-account-identifier#format-1-preferred-account-name-in-your-organization)).
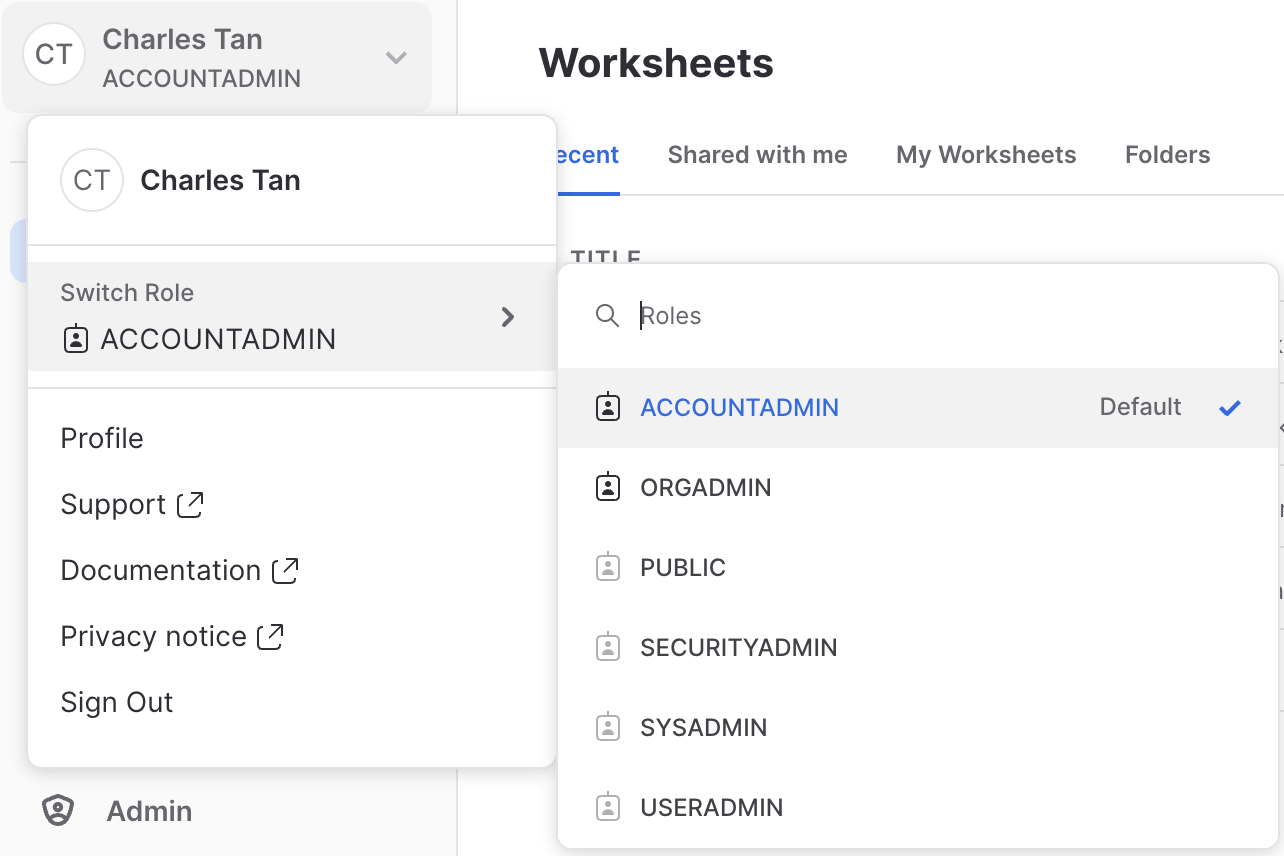
* **Role Name** – The name of the access control role to use for the data store operations after connecting to Snowflake (for more information see [Snowflake documentation on Roles](https://docs.snowflake.com/en/user-guide/security-access-control-overview#roles)). To find roles in Snowflake, click the top user profile icon and select from the dropdown menu.
Selecting a Snowflake Role
* **Warehouse Name** – The name for a Snowflake compute warehouse to use for queries and other data store operations that require compute resources (see [#add-snowflake-warehouse](#add-snowflake-warehouse "mention")).
* **Username** – User login name for the Snowflake account.
* **Client Key File** – Snowflake account's private key in PEM format (see [#create-snowflake-key-pair-authentication](#create-snowflake-key-pair-authentication "mention")).
* **Key Passphrase** – If applicable, passphrase for decrypting the Snowflake account's private key (see [#create-snowflake-key-pair-authentication](#create-snowflake-key-pair-authentication "mention")).
4. Click **Add** to save and create the data store.
*For instructions on creating the* data *store using DSQL, see* [CREATE STORE](/reference/sql-syntax/ddl/create-store.md).
## Process Streaming Data and Sink to Snowflake
To follow the next few steps, you must already have a [stream](/overview/core-concepts/databases.md#stream) defined in DeltaStream labeled `pageviews,` which is backed by a topic in an Apache Kafka data store. You also must have a Snowflake store labeled `snowflake_store` (see [#adding-snowflake-as-a-deltastream-store](#adding-snowflake-as-a-deltastream-store "mention")). When you have those, you can perform a simple filter on the `pageviews` stream and sink the results into Snowflake.
{% hint style="info" %}
**Note** For details on how to set up a stream or a Kafka store, see [Starting with the Web App](/getting-started/starting-with-web-app.md) or [Starting with the CLI](/getting-started/starting-with-cli.md).
{% endhint %}
### Inspect the Snowflake data store
1. In the lefthand navigation, click **Resources (**  ). This displays a list of the existing data stores.
DeltaStream Store List
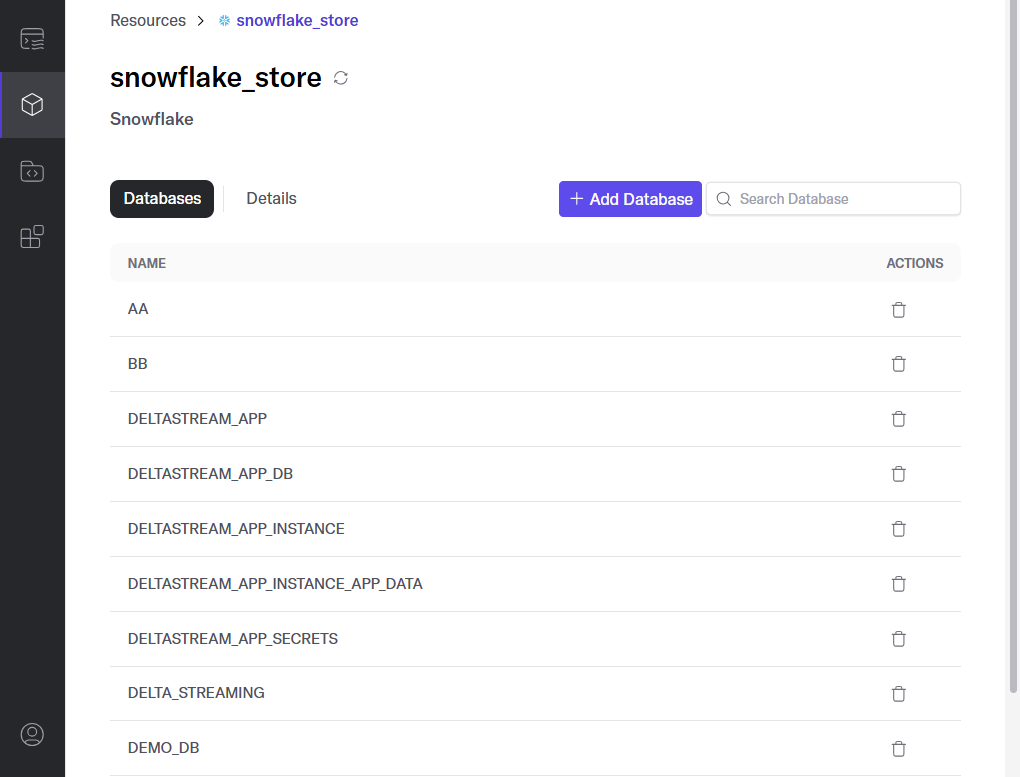
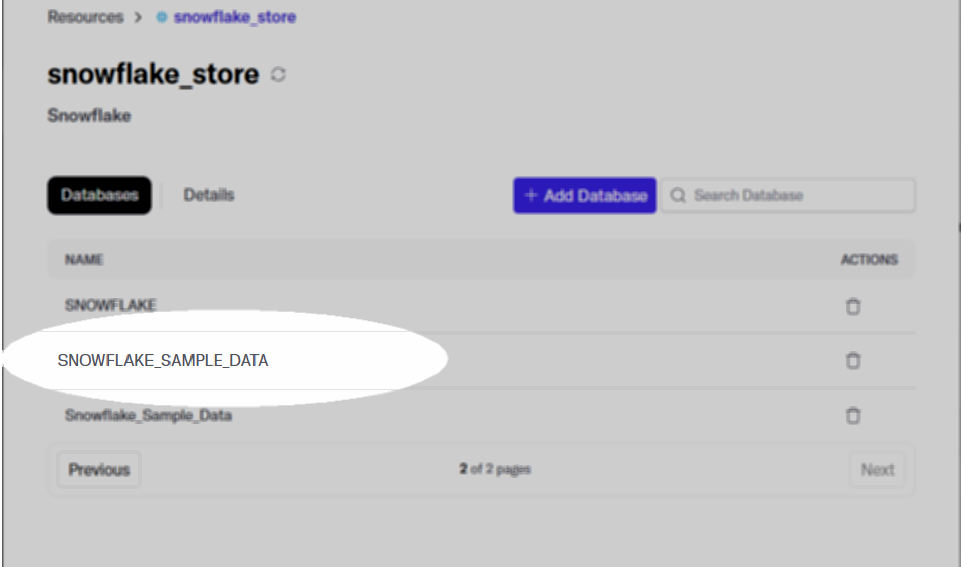
2. Click `snowflake_store`. The store page opens, displaying a list of the existing databases in your Snowflake account for the role you specified as part of the store's creation:
3. (Optional) Create a new database. To do this:
* Click **+ Add Database**. When prompted, enter a name for the new database and click **Add**. The new database displays in the list.
4. Click a database name to see the schemas that exist under that database.
5. (Optional) Create a new schema. To do this:
1. Click **+ Add Schema**.
2. In the window that opens, enter a name for the new schema and click **Add**. The new schema displays in the schema list.
6. To see the tables that exist under a particular schema, click the schema name.
### Write a CTAS (CREATE TABLE AS SELECT) Query to Sink Data into Snowflake
1. In the lefthand navigation, click **Workspace** (  ).
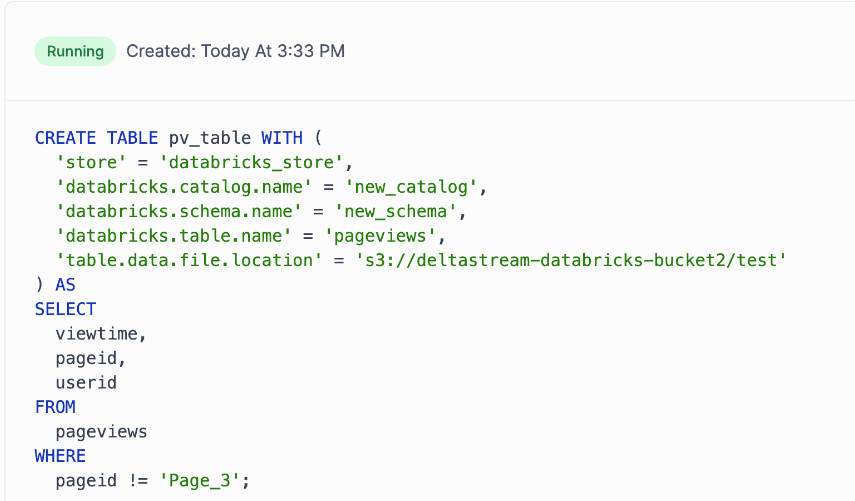
2. In the SQL pane of your workspace, write the [CREATE TABLE AS SELECT (CTAS)](/reference/sql-syntax/query/create-table-as.md) query to ingest from **pageviews** and output to a new table titled **pv\_table**.
```sql
CREATE TABLE pv_table WITH (
'store' = 'snowflake_store',
'snowflake.db.name' = 'new_db',
'snowflake.schema.name' = 'new_schema'
) AS
SELECT
viewtime,
pageid,
userid
FROM
pageviews
WHERE
pageid != 'Page_3';
```
3. Click **Run**.
4. In the lefthand navigation click **Queries** (  ) to view the existing queries, including the query from the step immediately prior.\
It may take a few moments for the query to transition into the **Running** state. Keep refreshing your screen until the query transitions.
### View the results
1. In the lefthand navigation, click **Resources (**  ). This displays a list of the existing stores.
2. To view the new table created by the above CTAS, navigate to `snowflake_store` --> `Databases` --> `new_database` --> `new_schema` --> `pv_table`.\
Of course, if you wrote your CTAS such that the store/catalog/schema/table names are different, navigate accordingly.
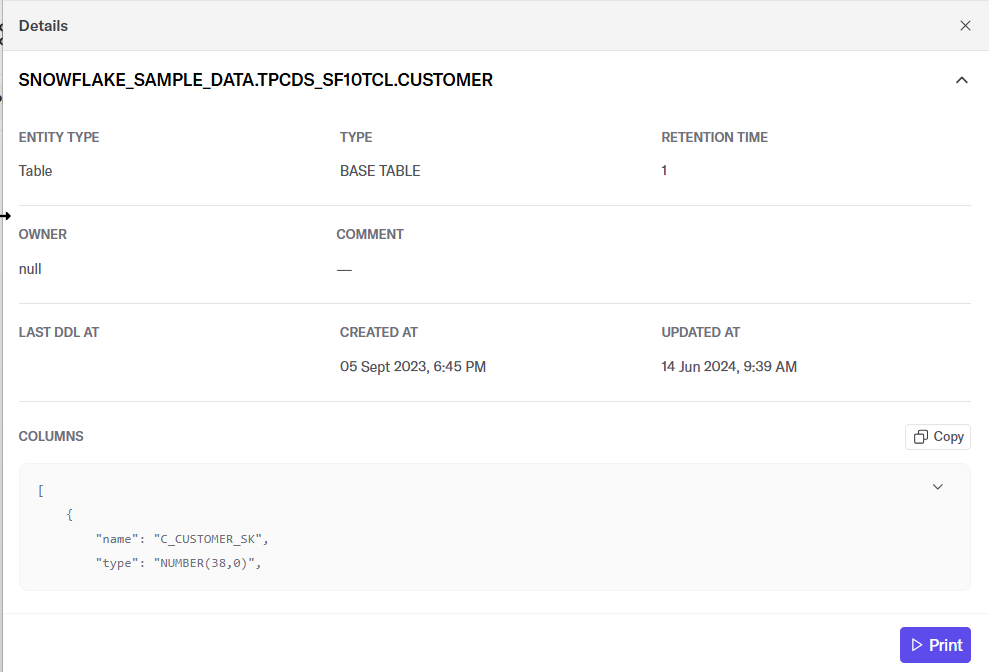
3. To view a sample of the data in your Snowflake table, click **Print**.